Packaging design is the connection of form, structure, materials, colour, imagery, typography, and regulatory information with ancillary design elements to make a product suitable for marketing. Its primary objective is to create a vehicle that serves to contain, protect, transport, dispense, store, identify, and distinguish a product in the marketplace. Ultimately, the goal of a packaging design is to meet marketing objectives by distinctively communicating a consumer product's personality or function and generating a sale.
There are tens of thousands of different products lining the shelves of the average supermarket. Department stores, mass merchandisers, specialty stores, outlets, and the Internet are all retail marketing sites where products are brought to life and attract consumers through their packaging design. The vastness of consumer choice brings about product competition that, in turn, fosters the need for market distinction and differentiation. In a consumer society, products and the design of their packaging become so intertwined that they are no longer perceived as either separate objects—or, ultimately, objects of necessity. Successful packaging design, in fact, creates desire.
Planning, execution, pricing, placement, promotion, advertising, merchandising, distribution, and sales are all part of the mix of activities involved in moving goods from producer to consumer.
Designing packaging for products is a little more complicated than slapping a sticker on a cardboard box. First of all, you need to identify the packaging medium. Will it be a simple custom printed cardboard box, or will it be a high-end rigid box?
The medium of your packaging is very often overlooked.
Once you've decided on a material, consider the following:
Graphic design and packaging
Physical packaging design
Marketing and design
Each one of these defines design in a different way. Understanding these various points of views will also help you find the best packaging for the products you're selling.
Graphic design and packaging
From a graphic designer’s point of view, design is is how the brand's design is reflected in the product boxes. In this sense, the design concept needs to attract the attention of a customer, but also provide information about the product. Packaging graphics should also take the brand's design and motives and show it off on the box.
Physical packaging
The second part to consider is the physical design limitations of your product package. Sure, you can have a box that plays the “Titanic” theme when opened, but not at the expense of product security. No matter how 'out there' your custom packaging may be, it needs to serve a purpose - and that is keeping your product secure. Manufacturing limitations also need to be taken into consideration. Sure, you can design a safe and secure die cut box that plays 'My Heart Will Go On' every time it's opened, but can someone actually make that? The best place to get an idea of what's actually achievable is to look at your competitors. Look at the shapes, materials and other aspects of the design of their packaging, and consider working within those boundaries, as you know they work for your competitor!
Use the standard packaging solutions of your industry as a foundation, and innovate from there.
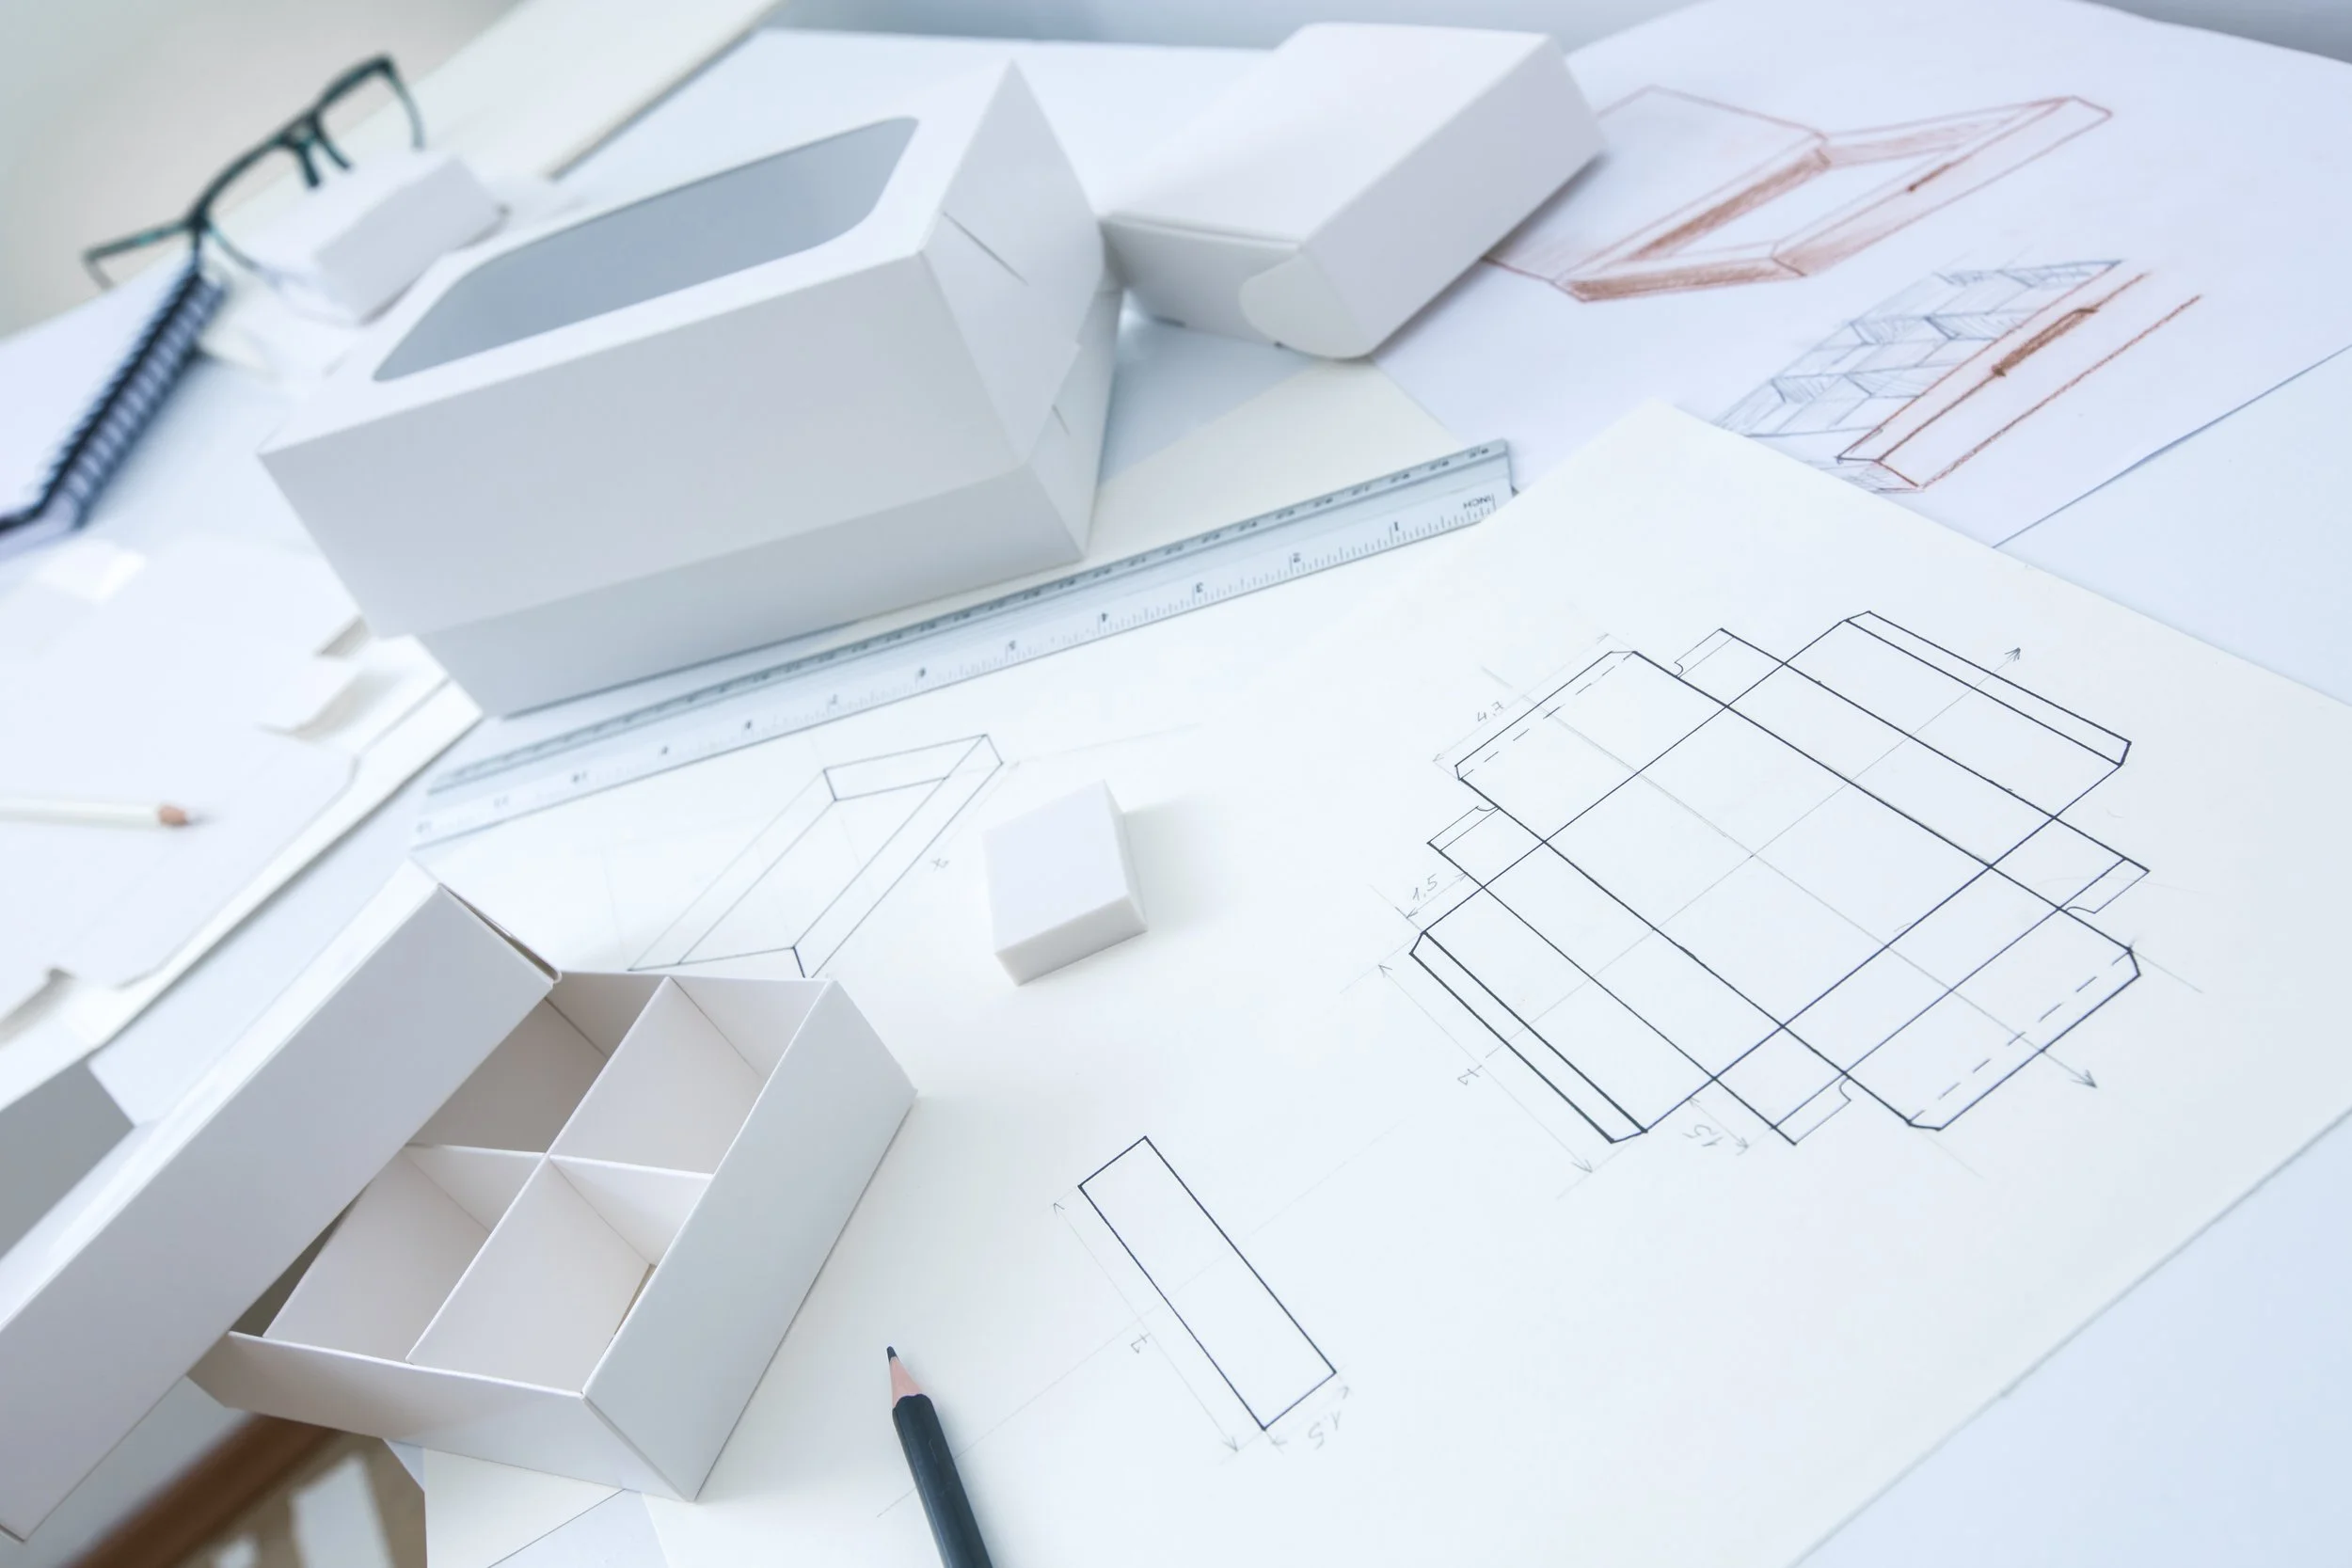
DiE LINES & DImensions
Most standard packaging have die lines and dimensions that will help you determine the shape and scale of your final product. Die lines are vector files and are essentially the flat laying version of your finished packaging structure before it is assembled.
The most common line types in these files are: Cut, Fold, Bleed, and Artwork Safety.
If you want an in-depth explanation of everything that goes into die lines, check out this post!
They usually come blank giving you, or a packaging designer, the exact guidelines for design preparation. It acts as a guide when making cuts, scores, and indentations in the die-cutting process to construct your packaging.
Artwork
Artwork will be laid on your packaging and artwork orientation is critical. You don’t want to spend so many hours on your artwork just for it to be displayed incorrectly. Ensure you know what direction your artwork is supposed to lay on the die line.
It is also very important to make sure there is enough extra space past the Cut Line that extends to the Bleed Line. Think of a cookie cutter; if you had a solid image or pattern, you wouldn’t want to see the edges of the image or pattern at the edge of the cookie. Creating bleed ensures that your design will look its best after the cutting/trimming process.
Other things to consider:
Types of Print
The best packaging materials for your needs
Durability & weight of your final packaging
Add ons, like embossing, hot stamping, UV finish etc
You can have the most extravagant design ideas out there, but if your packaging bundles can't actually be manufactured, it'll stay an idea.
Let me help bring those ideas to life - contact me here!

